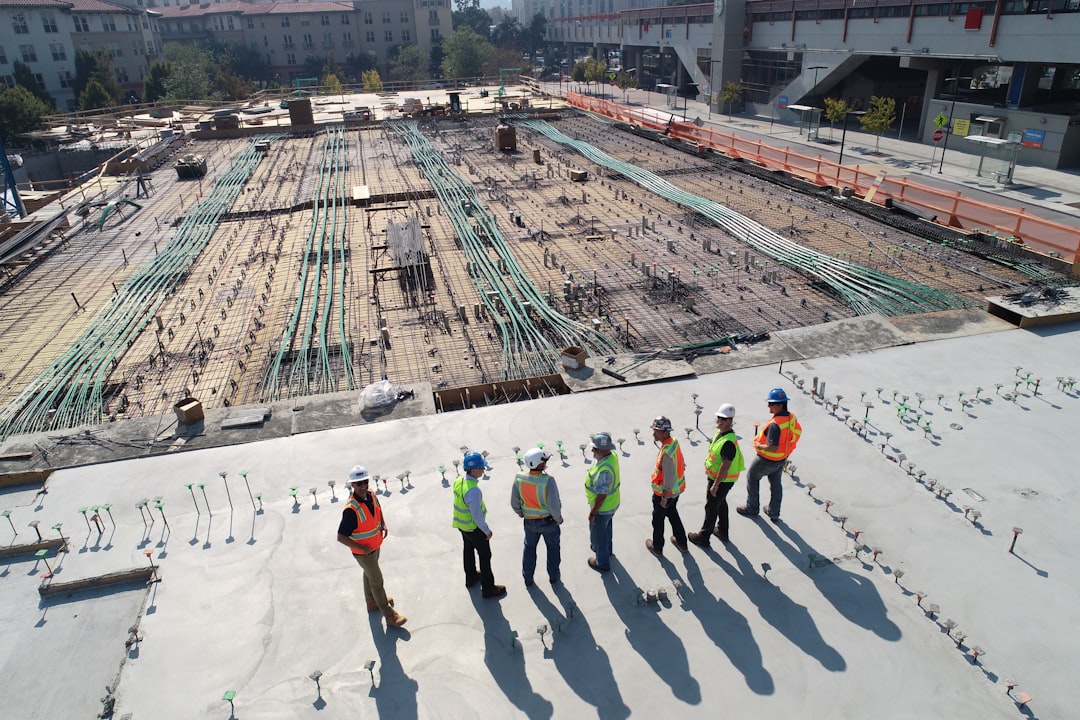
 Photo from Unsplash
Originally Posted On: https://cam-do.com/blogs/camdo-blog/tips-for-construction-time-lapse-photography-in-bad-weather
How to Use Construction Time Lapse Photography in Bad Weather
If you’re using time lapse photography to document your construction project, you’re not alone. Many construction firms are finding that time lapse photography is useful for everything from monitoring a job site to informing investors of project progress, to marketing their businesses. And, bad weather doesn’t stop them, but there are some things you can do to make filming during rain or snow easier.
Tips for Using Construction Time Lapse Photography in Inclement Weather
Many of our customers are filming projects that last for 6 to 12 months and longer. They use their cameras on sunny, rainy, and snowy days. Here are some tips to help you do the same.
1. Use a Strong Weatherproof Enclosure for Your Camera
If you’re expecting heavy rains, snow, or extreme temperatures or wind, make sure you’re using a weatherproof enclosure with a high IP rating. For example, our SolarX or DryX weatherproof enclosures can protect your gear. The enclosure is IP65 before modifications. An IP65 rated enclosure gives protection against low pressure water jets from any direction.
The cable gland is IP 65 rated but does not maintain the rating because it does not include a gasket where it connects to the enclosure. The cable gland is for strain relief on the cable and faces downward to avoid water ingress from rain. The cable gland will not keep water out if mounted upside-down (cable gland facing up).
The lens filter has a gasket between where it connects to the enclosure (so water can drip down the face), but the screw-in UV filter (replicable) is not waterproof but usually faces downwards as well. If the lens needs to be directed upwards, rain water collected around the rim could seep into the housing. A bead of caulking around the edge of the lens (where glass meets metal) should prevent this.
Getting water in the lens shouldn’t be an issue if the camera is mounted horizontally or downwards. You can connect a 67mm lens hood to the DryX lens filter to reduce the likelihood of rain hitting the lens.
2. Use Cold Weather Batteries When Needed
For extremely cold temperatures, use lead-acid batteries. They will provide much better performance than lithium batteries.
3. Protect Your Lens
Use Rain-X or a similar product to help your lens shed water. Rain-X also makes a fog repellent that you can use inside to help avoid condensation and keep the inside of the lens from fogging.
In snow conditions, you’ll need to check your gear more frequently to ensure the lens isn’t blocked. If you’re using automatic image upload equipment such as the CloudX, you can easily check your images to ensure that show buildup isn’t affecting them.
4. Monitor Your Solar Panels and Batteries
If you’re filming a long project, you’ll probably want to adjust your solar panels as the seasons change. In general, you’ll get the most sun on your solar panels if they face south. You can adjust the angle of the solar panels in winter months when the sun is lower. For example, you’d lower the angle in the winter and increase it in the summer. The steeper angle in the winter will help keep snow from accumulating on the panels, but you still need to monitor their performance.
You can use the Solar Irradiance calculator on our Time Lapse and Solar Power Calculator for more information on how to mount your panels based on your location.
You’ll experience a lower number of hours of daylight during the winter and if you’re in an area that receives long periods of rain and cloudy skies. Make sure you have enough battery capacity as weather conditions change at your construction project.
5. Stay Safe
When you mount your time lapse photography gear on a sunny summer day, don’t forget to consider what will happen when you need to reach it in the rain or snow. You may think snow is your only enemy, but rain can also make surfaces very slippery. In addition, you may need to arrange for snow removal to allow access.
6. Prepare for Opening the Enclosure
There will be times when you need to open the enclosure to switch memory cards or batteries. In extreme weather, you’ll be exposing your gear to cold temperatures and moisture. Use a microfiber towel to dry the interior of the enclosure. And plan a way to store the equipment you’re removing to keep it dry until you get it safely out of the weather.
You can reduce the number of times you’ll need to access the equipment by using remote status monitoring and cloud upload capabilities like those available in CloudX. Using CloudX, you won’t need to check the status of your gear while hanging on a pole. You’ll only need to access the equipment when you know some adjustment or equipment swap is necessary.
Construction time lapse photography is an invaluable tool for many construction firms. Some firms choose to manage the photography process themselves, while others look to professionals who can handle all aspects of capturing the required footage and doing post production work to create professional videos for marketing purposes or to show to stakeholders who are tracking progress.
You can take advantage of the many time lapse photography resources that we offer to help you select products or do troubleshooting. And, if you have questions or need additional information, contact us today.


